

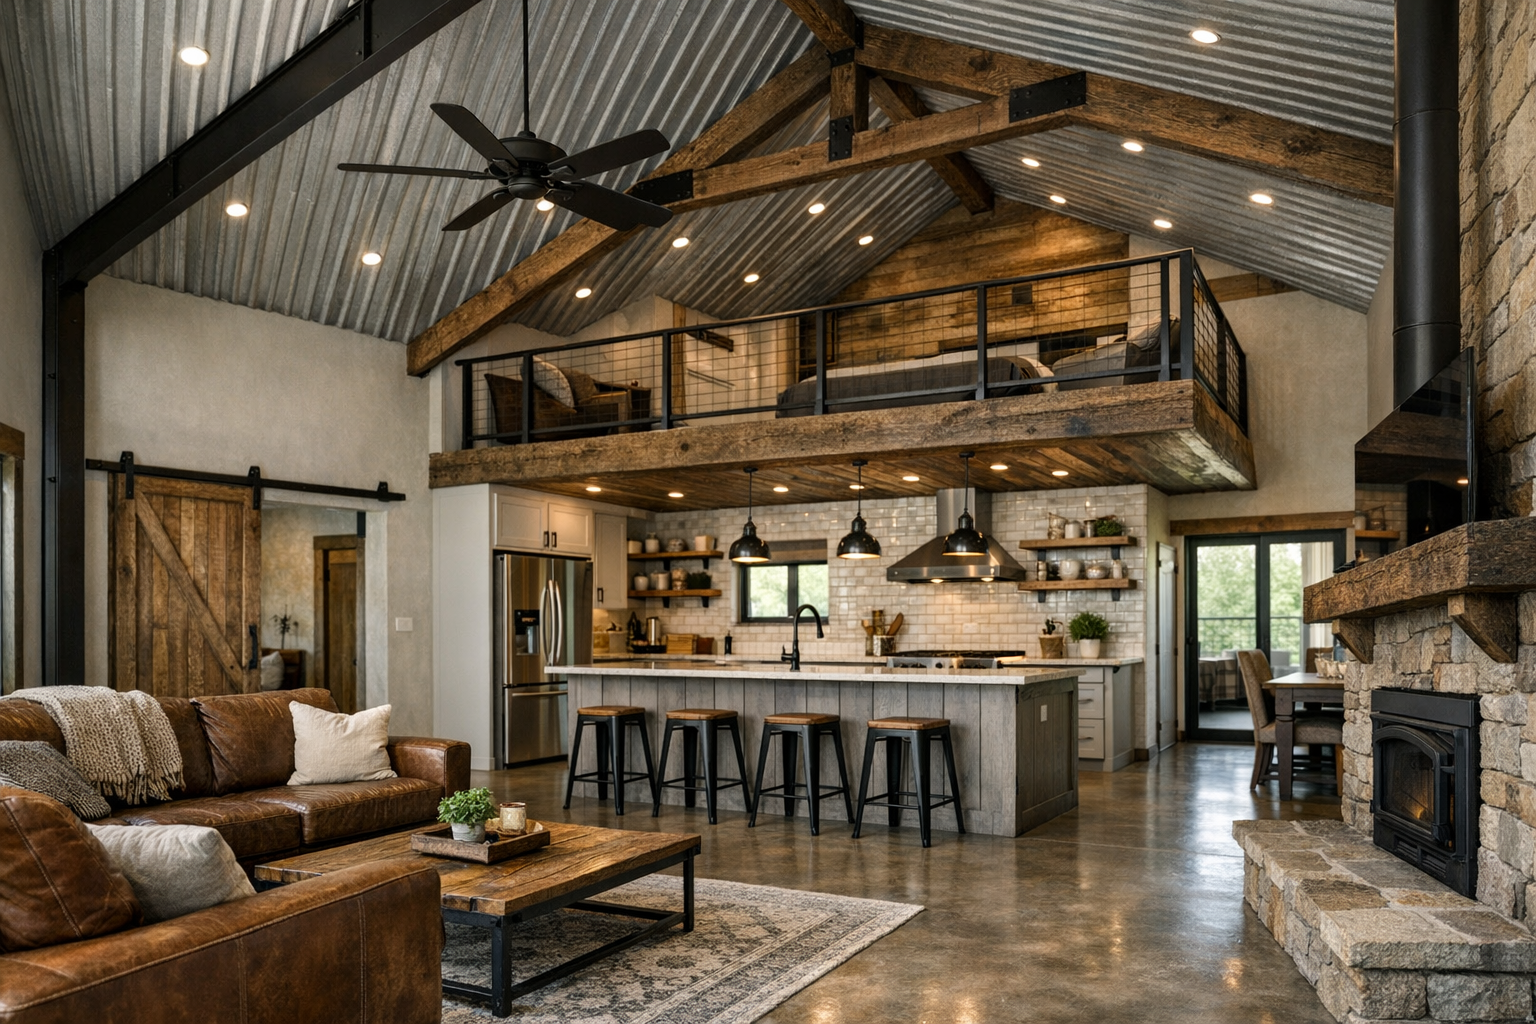
Barndominium interior finish-out turns the enclosed building into usable rooms. It also connects decisions that are easy to treat separately: flooring thickness affects doors and cabinets, shower choices affect rough-in, and upstairs finishes affect the whole floor assembly.
Start with a room-by-room schedule of materials and installation requirements. Use it to compare complete quotes and resolve details before ordering. This guide covers floors, wall finishes, cabinets and bathrooms, with a practical way to organize the remaining work.
Set the Sequence Around the Actual Materials
There is no universal flooring-before-cabinets rule. The flooring method, cabinet installation, wet-area systems and product instructions determine the sequence. For example, Flooret directs owners to install fixed cabinetry before its floating floors so the floor can move as intended. That is product-specific guidance, not an instruction for every flooring system. See Flooret’s cabinet guidance.
- Confirm the required rough-in inspections and resolve leaks or enclosure defects.
- Finalize flooring assemblies, finished heights, cabinets, fixtures and appliance specifications.
- Coordinate preparation, waterproofing, painting and installation stages with each trade.
- Follow the selected products’ temperature, moisture, curing and protection requirements.
- Complete fixtures, trim, adjustments and final inspections in the agreed sequence.
Use the rough-in checklist and pre-drywall walkthrough guide to organize the handoff to finish work.
For a focused comparison of materials and complete flooring systems, see our barndominium flooring guide: epoxy, microcement, wood or vinyl.
Downstairs Flooring: Start With the Slab
Before choosing a color or pattern, have the installer assess the slab against the proposed flooring system’s requirements. Request the required moisture testing, flatness evaluation, surface preparation, crack and joint treatment, and any mitigation work in writing.
A material advertised as waterproof does not establish that the entire floor assembly is protected from slab moisture. The COREtec Scratchless instructions, for example, require specific site and substrate conditions. Follow the instructions for the exact collection you purchase; do not transfer limits between products. Read the manufacturer’s installation guidance.
| Finish | What to ask before choosing |
|---|---|
| Finished concrete | What appearance is achievable with this slab, and what repairs, polishing, staining or sealing are included? |
| Epoxy or another resinous coating | Which complete system is specified, how will the surface be prepared, and what moisture, joint and slip-resistance requirements apply? |
| Microcement | Which primer, base, finish and sealer form the system, and is it approved for the intended room and substrate? |
| Vinyl plank or tile | Is it floating or adhered, and what substrate, moisture, underlayment and expansion requirements apply? |
| Wood flooring | Is this particular product suitable over the slab, using which installation method and moisture-control system? |
Epoxy: compare preparation as well as the finish
Do not compare a coating kit with a professionally prepared floor as though they are the same scope. Sika identifies surface preparation as critical to resinous flooring performance. Ask the installer to specify the preparation and substrate acceptance criteria for the proposed system, plus return-to-use times and maintenance. Sika’s surface-preparation guide explains the role of the substrate.
Microcement: specify the complete system
Microcement is a finish system rather than a substitute for resolving substrate problems. Topciment’s Sttandard system uses substrate-specific preparation, base and finish coats, and sealers. Ask how joints, movement, moisture and future repairs will be handled. A seamless appearance does not establish shower suitability; obtain explicit approval for that application and its waterproofing details. See an example of a manufacturer’s complete microcement system.
Upstairs Flooring: Evaluate the Whole Assembly
For an upstairs wood or vinyl finish, ask the designer and installer to review the subfloor, support, fastening or adhesive method, finished height and transitions. Add sound control to the discussion: the question is how the floor-and-ceiling assembly performs, not just whether an underlayment is marketed as acoustic.
Before selecting underlayment, confirm compatibility with the exact flooring, including any attached pad. Ask whether the proposed sound-test result applies to an assembly like yours. Coordinate stair nosings, landing heights and door clearances before ordering.
Wood-floor installation over concrete depends on the flooring and adhesive requirements and matching moisture-test results; wood substrates also need assessment. NWFA emphasizes documented jobsite conditions and moisture evaluation. Avoid choosing solid or engineered wood solely by appearance. Consult NWFA’s installation guidelines alongside the product instructions.
Wall and Ceiling Finishes
Use room conditions to narrow the choices. Painted drywall, wood boards, tile and decorative coatings have different substrate and installation needs. Ask the designer to identify any required fire-resistance or protective layers, particularly between a shop or garage and living space.
For each surface, record the substrate, preparation, finish, trim, penetrations and maintenance requirements. For tall or sloped ceilings, include access equipment and future access to lighting and other service points in the quote. Choose samples under the room’s planned lighting before committing to a large area.
Cabinets and Countertops: Compare the Same Layout
Stock, semi-custom and custom cabinets describe purchasing options; none guarantees the best value for every project. Request quotes from the same dimensioned layout and item list.
- Confirm appliance openings, door swings and drawer clearances.
- Specify box construction, door material, finish, hinges and drawer hardware.
- Identify fillers, end panels, toe kicks, handles and interior accessories.
- Clarify delivery, assembly, installation, wall blocking and anchoring responsibilities.
- Coordinate countertop support, seams, cutouts, sink mounting and backsplash details.
- Confirm flooring sequence and finished heights with both installers.
For a tight budget, price optional accessories separately. Keep essential storage and a workable layout visible in the comparison instead of comparing only door styles. Ask what happens if a damaged component arrives or a replacement is needed later.
Showers and Tubs: Settle the Hidden Components First
A bathroom fixture selection includes more than its visible finish. Before rough-in, confirm the exact tub, drain, valve body, compatible trim, mounting and access requirements. Check the tub’s hot-water demand against the water-heater plan.
Tile is not the waterproofing system. Schluter explains that tiled showers need a moisture-management assembly. Have the installer document the substrate, waterproofing, drain connection, corners, penetrations and transitions for the chosen system. Confirm required testing before finishes conceal the work. Schluter’s shower guidance explains the distinction.
- Coordinate shower base and drain details before fixing floor heights.
- Confirm the planned glass, door swing, niches and any future grab-bar blocking.
- Document ventilation, lighting and electrical requirements with the relevant trades.
- Ask who supplies and warrants the complete wet-area assembly.
A lower-price tile or decorative coating does not eliminate waterproofing and substrate costs. Include those layers when comparing bathroom quotes.
Laundry, Bedrooms, Shop and Final Details
Keep the room schedule practical. In the laundry, coordinate appliance clearances, hookups, ventilation and service access. In bedrooms, record flooring, closets, doors, lighting and controls. In the shop, define the activities, floor-finish exposure, storage and separation from living space before selecting finishes.
For trim and doors, confirm dimensions, hardware and transitions against finished floor heights. For lighting, compare a room’s tasks and installation needs rather than assuming one fixture size or color temperature works everywhere. Include safe future access for tall-ceiling fixtures.
Build a Finish-Out Budget From Comparable Quotes
Finish-out costs vary too widely by region and specification for a national range to be useful. Build your allowances from your actual areas, specifications and local quotes.
| Budget group | Include in the allowance |
|---|---|
| Floors | Testing, preparation, repairs, material, installation, transitions and protection. |
| Walls and ceilings | Substrate, finishing, paint or coatings, trim and access equipment. |
| Kitchen | Cabinet components, counters, appliances, delivery and installation. |
| Bathrooms | Rough components, waterproofing, fixtures, finishes, glass and labor. |
| Remaining rooms | Laundry, closets, doors, lighting, shop finishes and storage. |
| Completion | Taxes, waste, freight, cleanup, required inspections and an explicit contingency. |
Separate owner-supplied materials from contractor-supplied items and identify exclusions. Update the build budget as quotes become firm. The calculator organizes allowances; it does not establish local market prices.
Make a Room-by-Room Finish Schedule
For every room, record the product, quantity, substrate, installation method, preparation, installer, lead time and quoted total. Keep approved samples and product documents with that schedule. This gives each trade the same decisions to work from and makes substitutions easier to evaluate.
Last reviewed: November 5, 2026. This guide addresses planning and quote scope. Manufacturer references illustrate system requirements; they are not product endorsements or project-specific installation instructions.