
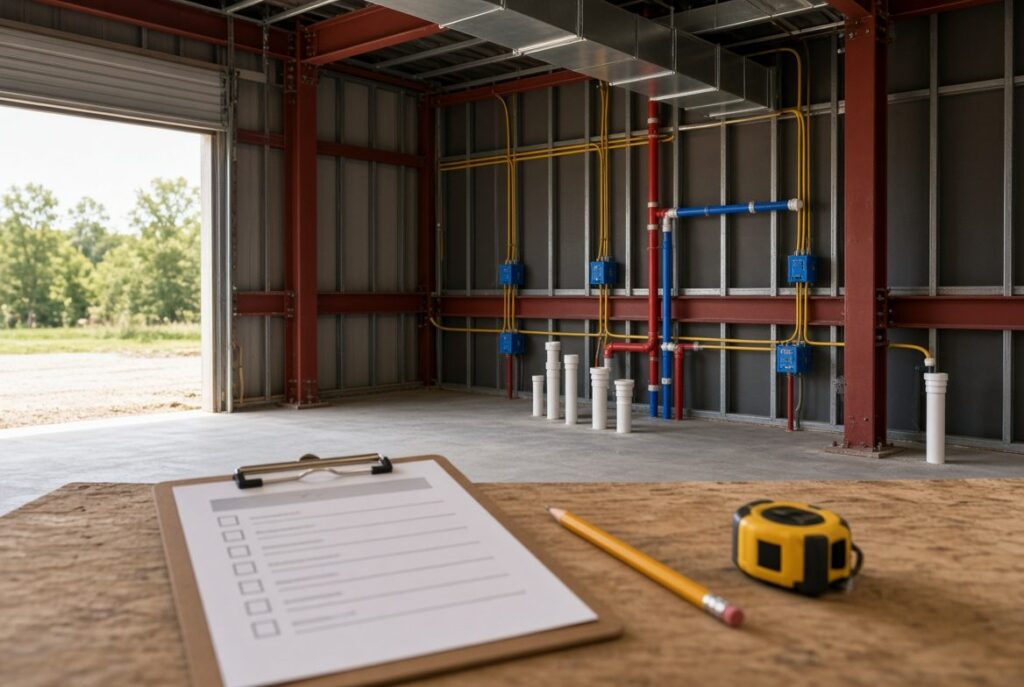
Don’t Pour a Slab Without This
This free barndominium rough-in checklist covers the 20 most expensive mistakes owner-builders make between framing and drywall — the errors that get buried behind finished walls and cost 5–10x to fix after the fact. It’s one printable page, written specifically for steel buildings, and it takes about four minutes to read.
What’s inside
- The sequencing mistakes — why the electrician goes last, why spray foam waits for inspection, and what happens when you get the order wrong
- Steel-building traps — Romex through raw steel studs, shingle-style boots on metal roofs, copper touching galvanized frame
- Rural-build items — pressure tank access, sediment filter loops, and the septic elevation check that decides whether you’re buying a pump
- Inspection-day errors — the two mistakes that turn a rough inspection into a failed one
Want more than the free checklist? The Barndominium Rough-In Pack comes in three tiers: the $14 Rough-In Checklist, $29 Owner-Builder Bundle, and $49 Contractor Pack. Each higher tier includes everything in the tier below.
Why Rough-In Mistakes Are the Most Expensive Kind
Rough-in is the phase where every wire run, supply line, drain, vent, and duct decision gets locked in — then hidden. In a barndominium, the stakes are higher than in a stick-built home: closed-cell spray foam applied to your steel panels is permanent, so anything an inspector fails after foam means cutting cured foam out of the wall. And a metal building punishes moisture mistakes — a bath fan vented into the ceiling cavity puts condensation directly on cold steel.
If you’re still building your budget, start with our complete barndominium cost guide, run your numbers through the barndominium cost calculator, and — if you’re building in Texas — see the Texas barndominium cost guide for state-specific figures.
Choose Your Barndominium Rough-In Pack
The free checklist above is a one-page guide to 20 costly mistakes. For the full 88-item checklist and optional planning tools, choose one of these three versions of the same digital Rough-In Pack. The Owner-Builder Bundle and Contractor Pack include the lower tiers, so you only need to choose one.
Rough-In Checklist — $14
The full 88-item PDF checklist for steel-building barndominiums, organized in inspection order and printable for the job site. Covers electrical, plumbing, and HVAC rough-in checks before drywall.
Owner-Builder Bundle — $29
Everything in the $14 Rough-In Checklist, plus:
- Complete Planning Checklist — budget, land, design, and financing decisions before breaking ground.
- Rough-in budget worksheet — track quotes against actual costs.
- Sub-hiring question sheets — questions for electrical, plumbing, and HVAC subcontractors.
Contractor Pack — $49
Everything in the $29 Owner-Builder Bundle, including the full 88-item Rough-In Checklist, plus:
- Fill-in scope-of-work template — document the work agreed with your clients.
- Change-order template — document changes to the agreed work.
Choose the checklist for rough-in checks, the Owner-Builder Bundle for planning and trade coordination, or the Contractor Pack for the added client paperwork. Confirm your selected version and final price on Gumroad before purchasing. Use the checklists alongside your project plans and local inspection requirements.
Related barndominium rough-in guides
Go deeper on each trade before your rough-in inspection:
- Barndominium electrical rough-in guide: box placement, wire runs through steel framing and what the inspector checks.
- Barndominium plumbing rough-in checklist: every drain, vent and supply line to confirm before the walls close.
- Barndominium insulation guide: spray foam vs. other options, and why it waits until inspections pass.
- Pre-drywall walkthrough: what to bring, photograph and document before drywall goes up.
Frequently asked questions
What is included in a barndominium rough-in checklist?
A barndominium rough-in checklist covers everything installed between framing and drywall: electrical wiring and boxes, plumbing supply and drain-waste-vent lines, HVAC ducts or mini-split line sets, and gas lines. A steel-building-specific checklist also covers panel penetrations, grommets for wiring through steel framing, thermal-break conflicts, and spray foam timing — items generic checklists skip.
What order should barndominium rough-in trades work in?
Plumbing first, then HVAC, then electrical. Drain and vent lines are the largest and least flexible, so they claim their space first. Ducts and line sets route next. Wire is the most flexible system, so the electrician works around everything else. Spray foam insulation comes last — only after all rough inspections have passed.
Can I do my own rough-in on a barndominium?
In most jurisdictions, electrical, plumbing, HVAC, and gas rough-in must be performed by licensed trades, though some rural counties allow owner-builders to do their own work on their own residence with permits and inspections. Either way, the checklist matters: it’s how you plan the work, coordinate the trades, and verify everything before drywall — whether your hands or a licensed sub’s do the installation.
When should spray foam be installed in a barndominium build?
Only after all rough inspections have passed. Closed-cell spray foam is permanent — if an inspector fails any electrical, plumbing, or HVAC work after foam is applied, corrections require cutting cured foam out of the wall. Schedule your foam contractor for after sign-off, and have them walk the rough-in beforehand to flag anything that needs moving or masking.