
Choosing barndominium flooring is easier when you separate two decisions: what belongs over the downstairs slab, and what belongs over the upstairs floor structure. The same finish does not have to work everywhere.
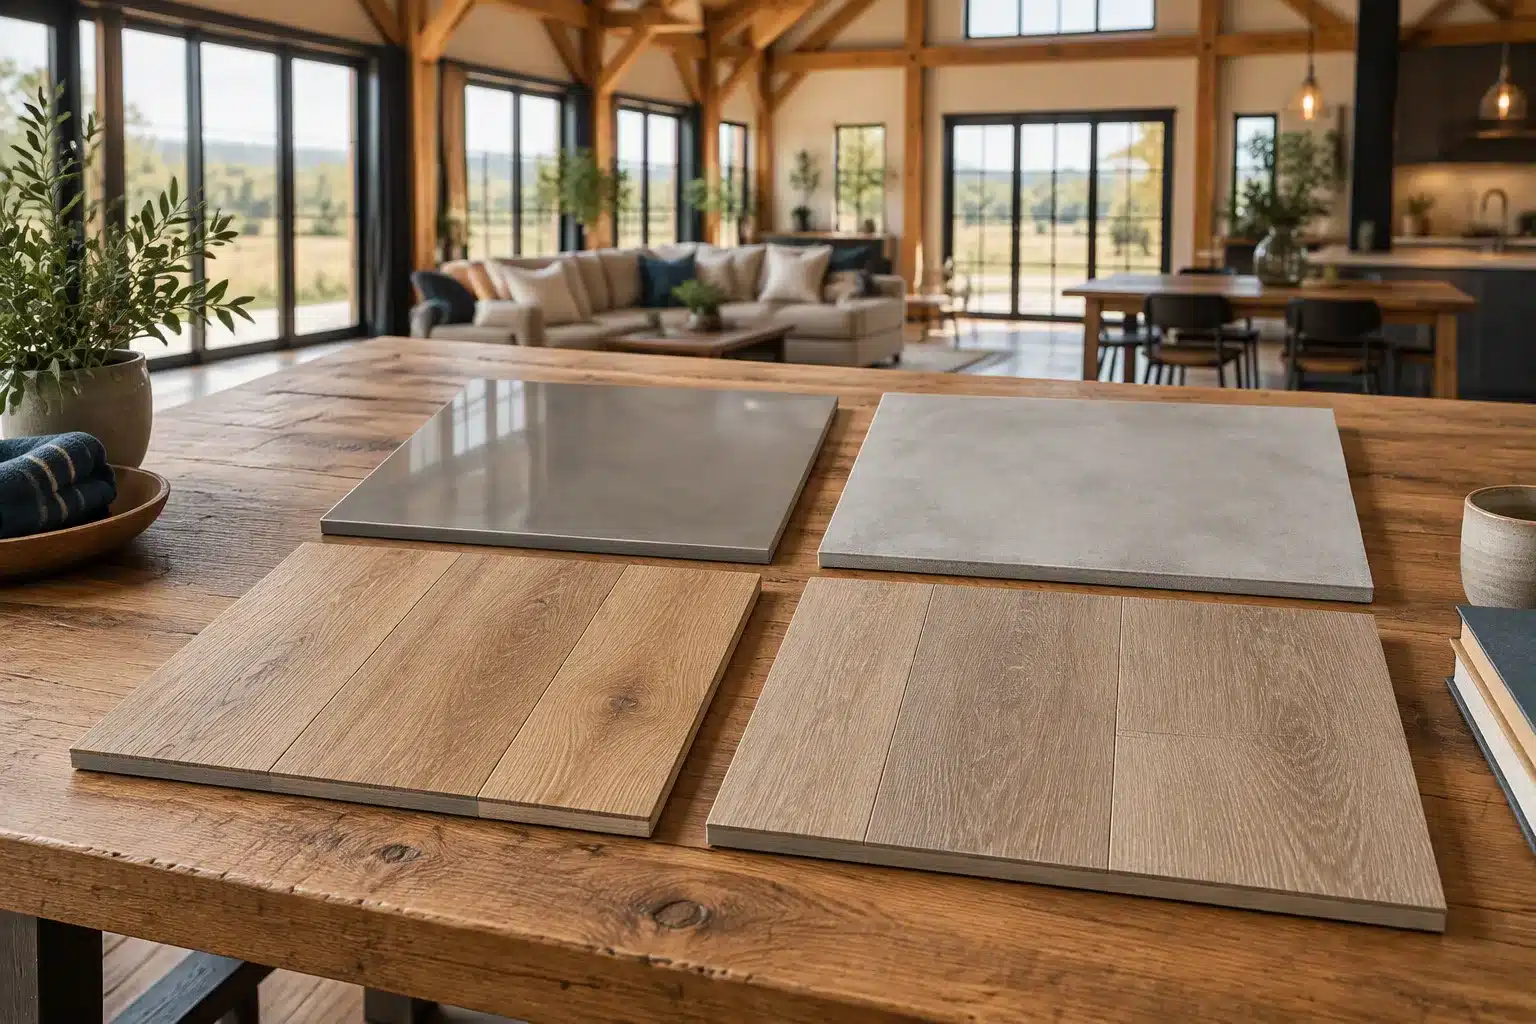
In barndominium flooring, epoxy and microcement offer different approaches to a continuous-looking floor. Wood and vinyl offer plank options worth comparing upstairs. Before choosing a winner, compare the complete assembly, preparation, installation and repair plan—not just a sample or material price.
Quick Answer: Build a Barndominium Flooring Shortlist by Location
For downstairs living areas, request complete system proposals for the look you want and the slab you have. For upstairs rooms, compare wood and vinyl against the subfloor, sound goals and finished heights. Keep bathrooms and shop areas as separate applications with their own requirements.
| Option | Why put it on the shortlist? | What must the quote resolve? |
|---|---|---|
| Epoxy/resinous system | You want a coating or decorative resin finish over a suitable substrate. | Preparation, moisture acceptance, joints, surface texture, topcoat and return-to-use time. |
| Microcement system | You want a troweled, continuous-looking decorative finish. | Substrate compatibility, complete layer build-up, movement details, sealers and repair appearance. |
| Wood flooring | You prefer a wood surface and want to compare its construction and maintenance options. | Exact solid or engineered product, moisture conditions, installation method and refinishing limits. |
| Vinyl plank/tile | You want a resilient plank or tile finish with a product-specific installation method. | Subfloor requirements, floating versus adhered installation, pad compatibility and repair method. |
This is a barndominium flooring planning comparison, not a ranking of brands. Each option needs acceptance for the actual room and substrate.
1. Check the Downstairs Slab Before Selecting a Finish
Ask for a documented substrate assessment before accepting a barndominium flooring quote. Record the slab’s moisture-test results, flatness, surface condition, existing coatings or sealers, cracks and joints. Have the installer identify which conditions are acceptable and which require preparation or mitigation.
For resinous systems, Sika emphasizes the role of surface preparation and provides guidance on substrate assessment and joint treatment. Use the chosen system’s current requirements; a generic claim that the slab is “dry enough” is not an acceptance record. Sika surface-preparation guidance.
Request preparation as a separate line item. It makes competing quotes easier to compare and exposes exclusions before work starts. Ask who pays if testing reveals conditions outside the original allowance.
2. Epoxy: Compare a System, Not a Bucket
“Epoxy floor” is not a complete specification. Ask for the primer, build coats, decorative layers, topcoat and intended use. Request a sample that represents the proposed texture and sheen.
- Is the system approved for this interior living area or shop application?
- How are cracks and movement joints handled?
- What moisture conditions can the specified system accept?
- What surface texture is proposed where shoes or floors may be wet?
- What light exposure, cleaning products or shop chemicals must be considered?
- When can people, furniture and equipment return?
Have the installer explain the repair process for a damaged patch and whether a local repair may remain visible. Compare that response alongside price. Do not assume that an inexpensive DIY kit and a prepared multi-layer installation provide equivalent scope.
3. Microcement: Resolve the Layers and Sealer
Microcement is a decorative system whose performance depends on more than its finish coat. Topciment’s Sttandard documentation describes substrate-specific primers, preparation and finishing products, followed by sealers. Those details illustrate why the complete system matters; they do not establish that every microcement product uses the same build-up. Topciment Sttandard system documentation.
Ask the installer for the layer schedule, required substrate condition, treatment of existing joints, cure periods, cleaning instructions and resealing plan. Request samples showing the range of trowel variation you may see across a full room.
Keep shower use separate from general floor use. A decorative finish or sealer should not be assumed to replace the wet-area assembly. Obtain written approval for the actual application and details for the waterproofing and drain connections.
4. Upstairs Wood: Choose the Product and Installation Together
Solid and engineered wood are broad categories. Compare the exact product, dimensions, permitted installation method, service conditions and maintenance requirements. If future refinishing matters, ask the manufacturer what the specific product can accommodate.
NWFA’s installation guidelines address jobsite conditions, moisture testing, wood and concrete substrates, underlayments and installation methods. They also state that product-specific manufacturer recommendations take precedence over their general guidance. Use those documents together instead of treating one installation method as suitable for all wood floors. NWFA wood-floor installation guidelines.
Ask your installer to document the subfloor evaluation and the conditions needed before delivery and installation. Include stair nosings, transitions, closets and waste in the material calculation.
5. Upstairs Vinyl: Waterproof Does Not Answer Every Question
Vinyl products differ in construction and installation. Confirm whether the selected floor floats or is adhered, which substrates it permits, and whether extra underlayment is allowed with any attached pad.
The reviewed COREtec Scratchless instructions require suitable jobsite and subfloor conditions and describe moisture and installation checks. That is one collection’s guidance; use the current instructions for the exact vinyl you buy. A product’s waterproof claim does not eliminate substrate evaluation. COREtec Scratchless installation instructions.
Ask how a damaged plank would be replaced in your room layout. Include required transitions and movement space in the plan rather than leaving them for the trim installer to improvise.
6. Upstairs Sound Depends on the Floor-and-Ceiling Assembly
Ask for a sound-control proposal that identifies the flooring, underlayment, subfloor, structure and ceiling below. NWFA discusses acoustical underlayments and assembly testing in its guidelines. A rating from a different tested assembly should not be treated as a promise for your rooms.
Discuss both footsteps and voices or other airborne sound with the designer. Confirm compatibility before adding a second pad or a “soundproof” layer. Ask which result the proposal aims to achieve and how closely the supporting test matches your construction.
7. Coordinate Cabinets, Doors and Stairs
Record the thickness of the complete barndominium flooring assembly before finalizing door clearances, cabinet heights, appliances and stair transitions. Changes to finish height can affect several trades at once.
The cabinet sequence depends on the selected installation. Flooret, for example, directs installation of fixed cabinets before its floating products so they do not pin the floor. Its instructions distinguish floating from fixed methods. Follow the actual flooring and cabinet requirements instead of using a universal “floors first” rule. Flooret cabinet and flooring guidance.
8. Compare Total Cost and DIY Responsibilities
Request each barndominium flooring bid using the same measured rooms and written scope. Separate material pricing from the work needed to make it usable.
- Assessment: site visit, required testing and documentation.
- Preparation: leveling, surface work, repairs and any moisture mitigation.
- System: flooring, primers, adhesives, pads, coatings and sealers as specified.
- Details: joints, edges, transitions, stairs and trim.
- Installation: labor, equipment, access, freight, waste and cleanup.
- Ownership: protection, cleaning, maintenance, repairs and warranty responsibilities.
If considering DIY, ask which tasks the manufacturer permits, which equipment and conditions are required, and what warranty coverage depends on professional installation. Compare a complete DIY estimate—including preparation and tools—with the complete installed quote.
No single price range is supplied here because we have not established comparable local quotes for the same systems and conditions. Use the cost calculator to organize the allowances you obtain.
Where U.S. Readers Can Start Shopping
A barndominium flooring reel may show an appealing finish without explaining how to obtain the complete system in the United States. The resources below provide more practical starting points. U.S. access does not necessarily mean U.S. manufacture, and an online product seller is not necessarily your installer.
| Business | What you can explore | Confirm before ordering |
|---|---|---|
| Düraamen | Farmers Branch, Texas location with a U.S. phone contact, epoxy products and showroom/product advice. Its Skraffino microtopping system offers a cement-based decorative-floor route. | Complete system specification, samples, local pickup or freight, and suitability for your substrate. Microtopping systems are not interchangeable with every product marketed as microcement. |
| ArmorPoxy | Online epoxy kits, technical-support and sample-request routes. | Choose a system for the actual room; garage/basement kit availability does not establish whole-home suitability. Request delivered cost and preparation requirements. |
| Stone Coat | Online flooring-epoxy systems and DIY learning resources, separate from its countertop products. | Floor-specific materials, substrate requirements, complete kit quantities and shipping or freight charges. |
| Microcement USA | U.S. distribution, samples and an installer route for professional microcement systems. | The current Forcrete range is restricted to certified installers. Confirm purchasing eligibility and installer availability before planning a DIY purchase. |
Ask for the complete buying path: a written product list, technical and safety documents, sample cost, delivery to your ZIP code, preparation requirements, support contact and warranty terms. For installation, confirm the contractor’s actual service area and who will warrant the work. We have not verified a microcement installer serving every rural location.
These are editorial research links, not affiliate links or a ranking of workmanship. We have not tested these systems or verified them for your individual project. Availability, delivery and professional-purchase restrictions may change.
Your Barndominium Flooring Decision Sheet
For each shortlisted system, record: room and substrate; exact product; installation method; test results and acceptance criteria; preparation; finished height; sound-control details where relevant; cabinet sequence; total quoted price; maintenance; repair approach; and exclusions.
Then compare samples in your planned lighting and ask the installer to confirm the selected assembly in writing. A clear specification gives you a more useful decision than a general claim that one material is always best for barndominiums.
Return to the interior finish-out guide to coordinate flooring with cabinets, wall finishes and bathrooms.
Sources reviewed: October 18, 2026. Manufacturer examples explain product-specific requirements and are not endorsements. This guide supports selection and quote comparisons; it does not approve an individual floor assembly.