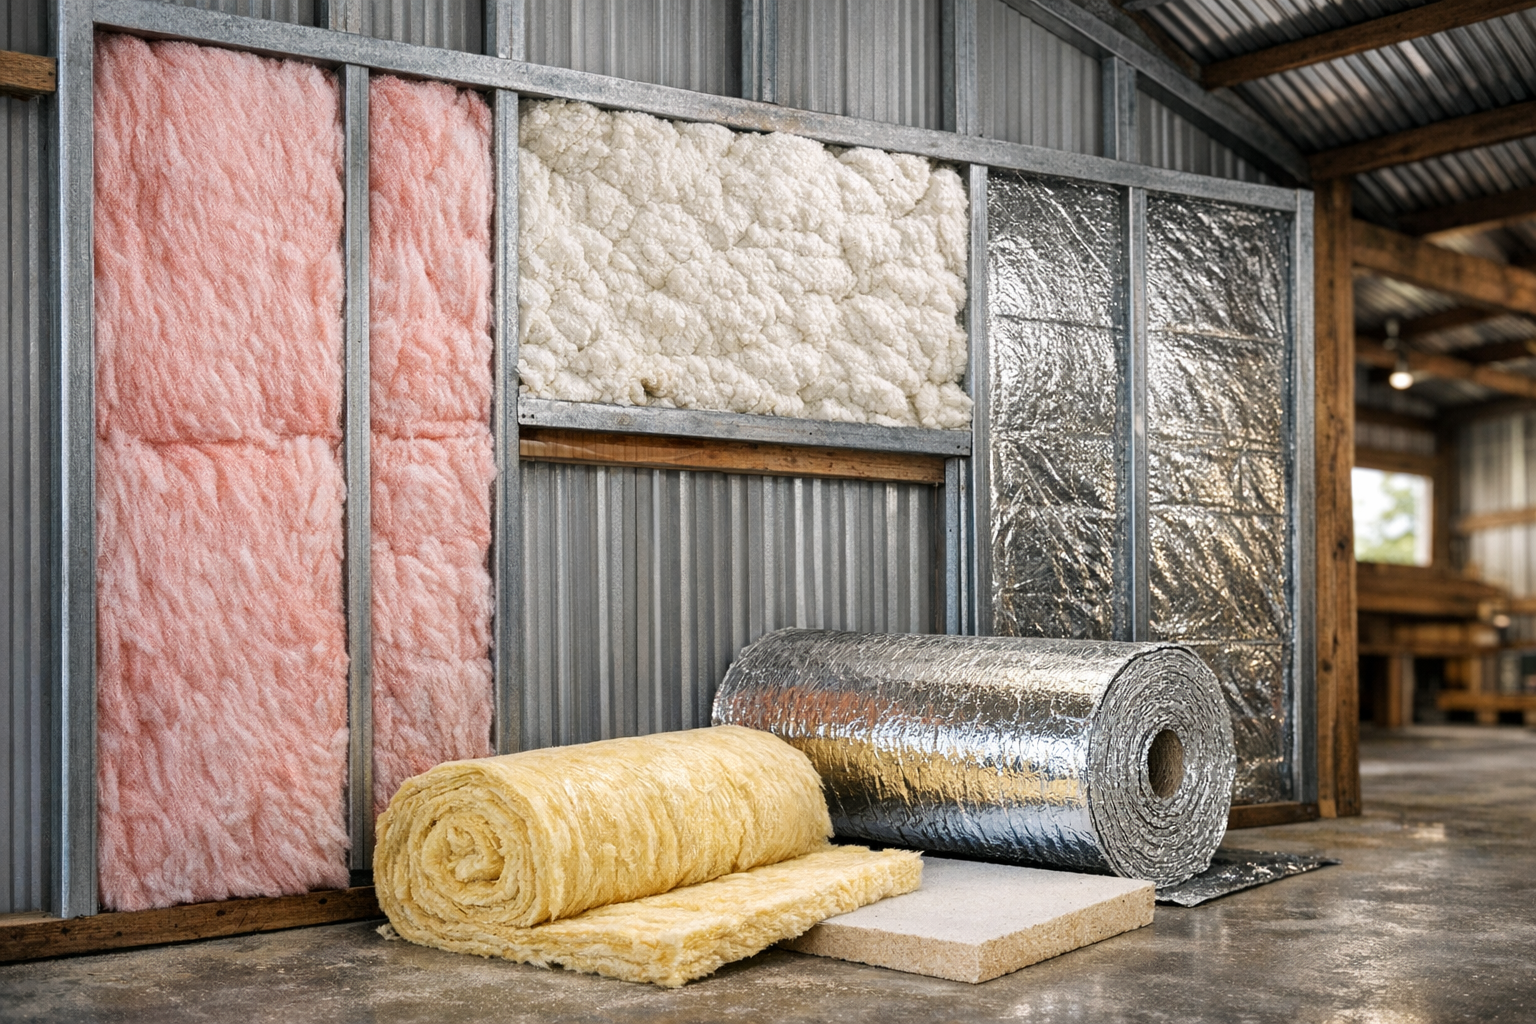

Short answer: On our build, moving and adding plumbing after the slab and framing were already in place cost about $2,000 that wasn’t in the original budget. Most of that came from digging under the existing foundation. The excavator alone was about $320 a day for three days, roughly $960. The rest went to a core drill ($279), a water pump after rain flooded the hole ($329), about $45–50 in plumbing parts, and labor. It also added about two weeks to the schedule. It was a deliberate choice, not a surprise. We’d make it again. But the cheapest time to make that decision is before the concrete is poured.
What we changed, and why
After the slab was poured and the framing was up, we decided to add and relocate plumbing. That meant a toilet and a new tub/shower in spots that were never plumbed in the original layout. Nothing had failed. We changed it because the original layout wasn’t what the homeowner wanted to live with every day, and their satisfaction mattered more to us than keeping the budget untouched.
That’s an important distinction. This wasn’t a hidden problem that showed up mid-build. It was a planning decision made late, and late decisions on a slab-on-grade barndominium carry a price.
Why plumbing changes cost more once the slab is in
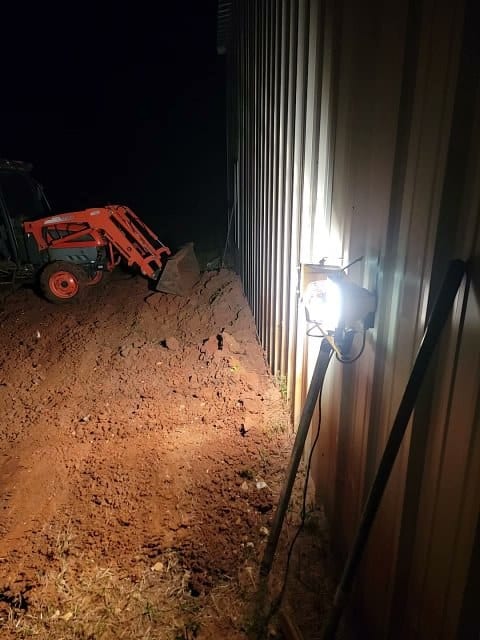
On a slab foundation, drain lines run under the concrete. Before the pour, adding a toilet or a shower drain is mostly a layout change. After the pour, the new lines still have to get under the house somehow. For us, that meant excavating underneath the existing foundation, in places about three feet down, to run the new lines to the new fixture locations.
Inside, we set up a core drill to cut the drain holes through the slab, one for the toilet and one for the shower. Outside, the crew dug down along the wall to get under the slab edge, breaking the red clay loose by hand so it could be removed.
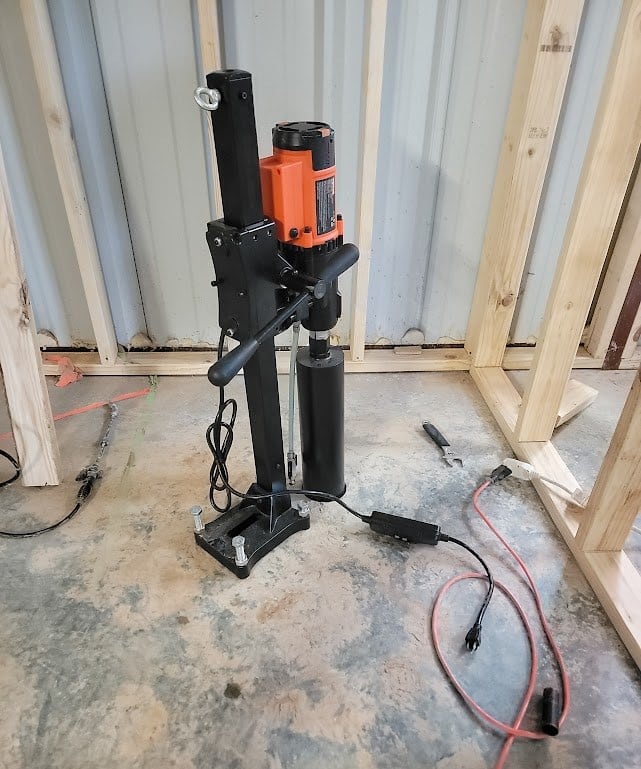
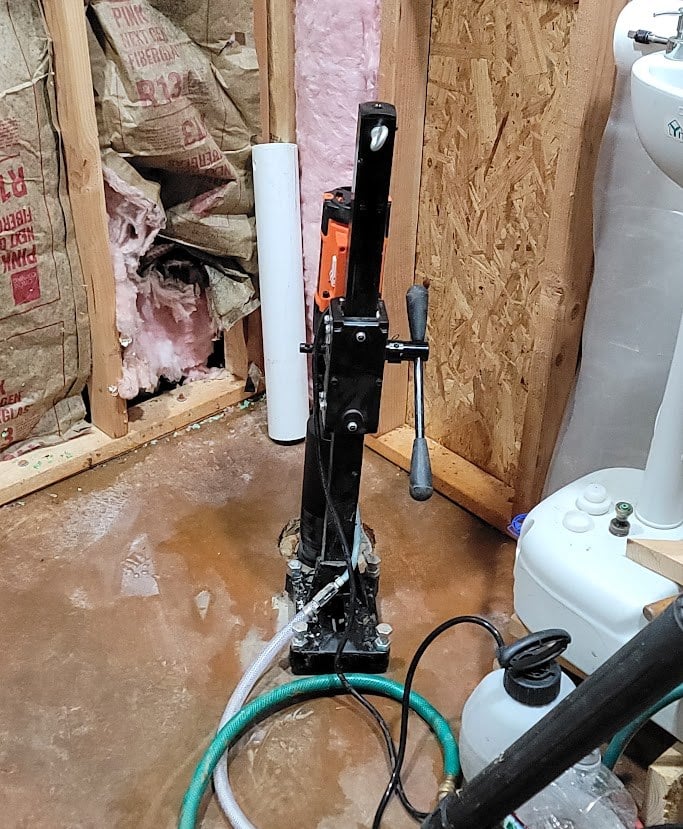
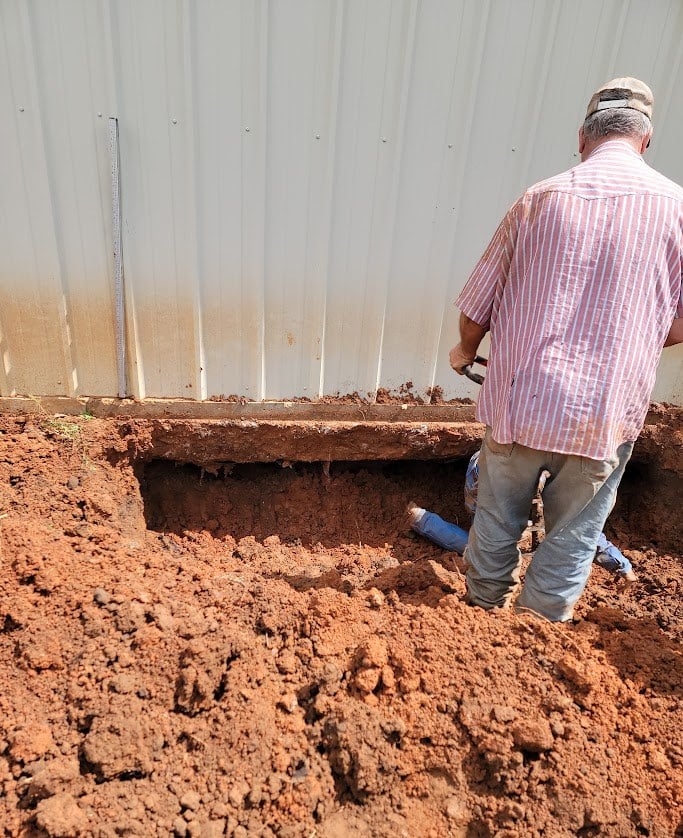
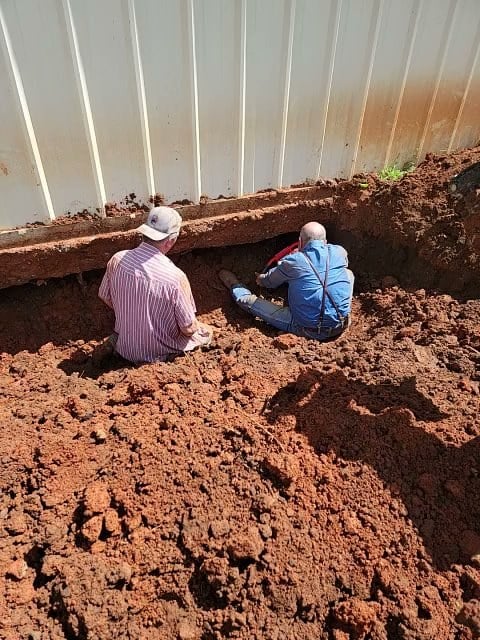
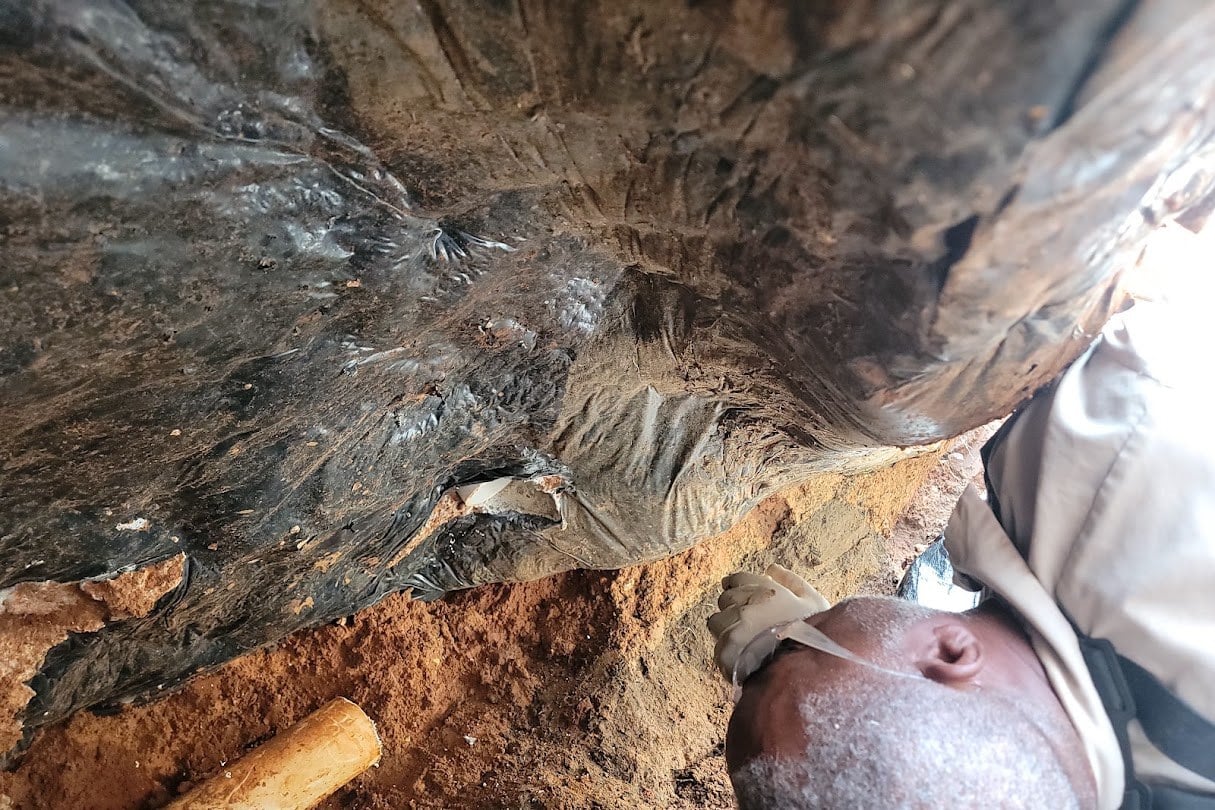
That kind of work brings costs you’d never see on a plumbing quote written before the slab:
- Equipment rental to dig under the foundation
- Manual labor where the machine couldn’t reach
- Handling and moving the excavated dirt
- Backfilling once the lines were in
- Extra tools and supplies
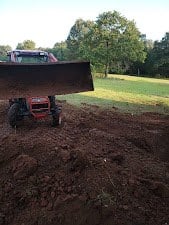
Along with the rented excavator, we also used our own tractor to move and put back the dirt.
The real costs: planned vs. actual
| Item | Planned | Actual (approx.) |
|---|---|---|
| Excavator (about $320/day × 3 days) | $0 | ~$960 |
| Core drill (drill press) for the drain holes | $0 | $279 |
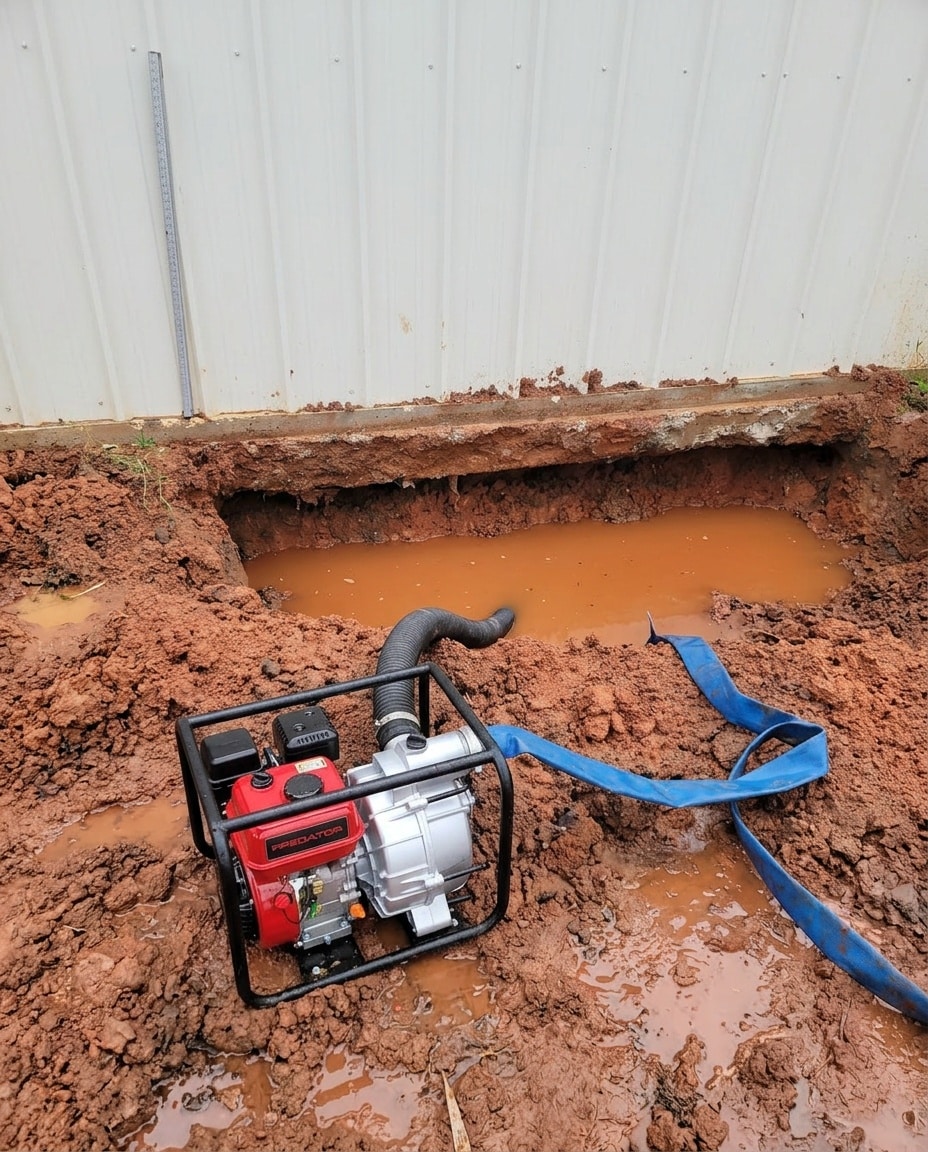
| Water pump to clear rainwater out of the hole | $0 | $329 |
| Plumbing supplies | $0 | ~$45–50 |
| Labor (the remainder) | $0 | ~$385 |
| Total outside the original budget | $0 | ~$2,000 |
Two things on that list surprised us. The plumbing parts themselves were the cheapest line, around $45–50. Almost everything else was the cost of getting to where the pipe needed to go. And the weather added a line we never planned for: rain filled the hole, so we needed a water pump to get it out before work could continue.
The cost you don’t see on the receipt: time
Money wasn’t the only cost. This change added about two weeks to our schedule. The work had to be finished before the next steps could keep going, and it needs the right people and equipment available on short notice. Then the weather piled on: unexpected rain kept filling the open hole, and work stopped until we could pump it out. We had to treat it as urgent to keep the rest of the build moving.
An open trench next to your foundation is exposed to whatever the sky does. If you’re planning a change like this, check the forecast and build slack into the schedule.
Was it worth it?
For us, yes. A bathroom layout is something you live with every day for as long as you own the house. Spending about $2,000 to get it right was a trade we were willing to make.
That’s the bigger lesson. Not every dollar over budget is a mistake. Some overruns are surprises. Others are choices. The goal isn’t to never change anything. It’s to understand what a change really costs downstream, decide whether it’s worth it, and then budget for it on purpose.
Lessons learned
- Plumbing locations are one of the decisions to lock in early. On a slab, they’re set in concrete, literally.
- A late change is rarely just “the plumbing.” Our parts cost about $45–50. Excavation, drilling, pumping, labor, backfill and two weeks of schedule came with it.
- Know whether you’re facing a surprise or a choice. If it’s a choice, you get to weigh it before you spend.
Three things we’d recommend before you pour
- Walk the floor plan as if you already live there. Before the slab, stand where each toilet, tub, shower and sink will go and picture daily use. If you’re still choosing a layout, our guides to barndominium floor plans and floor plan companies are a good place to start.
- Confirm every fixture location against the under-slab rough-in. Use a checklist so nothing is assumed. Our plumbing rough-in checklist walks through each line item.
- Keep a change contingency in your budget. If you change your mind later, a set-aside turns an overrun into a planned decision. See how much a barndominium costs for how we think about a full project budget.
Once walls go up, the same thinking applies to everything else hidden behind them. Our pre-drywall walkthrough covers what to check and document before it’s covered.
Frequently asked questions
Can you add a bathroom after a barndominium slab is poured?
Yes, we did. But the new drain lines still have to run under the house. On our build that meant excavating beneath the existing foundation, about three feet down in places, and that’s where most of the extra cost came from.
How much does it cost to move plumbing after the slab?
For us, about $2,000 outside the original budget for a toilet and a new tub/shower in new locations. That’s one build’s experience, not a quote. Site access, soil, depth and local labor rates will all change the number, so get a quote for your own situation.
What was the biggest single cost?
Equipment. The excavator ran about $320 a day for three days, roughly $960, almost half of the total.
Will a late plumbing change delay the build?
It can. Ours added about two weeks. The work has to be finished before other steps can continue, you need the right people and equipment available quickly, and weather can slow it down further. Plan for schedule impact, not just the dollar cost.
How do I avoid this on my build?
Finalize every plumbing fixture location before the slab is poured, check it against the rough-in, and keep a contingency for changes you decide are worth making later.
Before your pour: work through our Barndominium Plumbing Rough-In Checklist and confirm every fixture location while it’s still cheap to move.